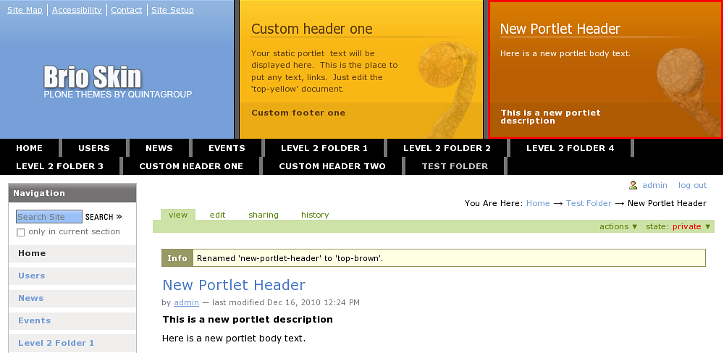
The following tutorial covers customization of Brio Theme top content portlets on a Plone 3 website. Instruction for managing top portlets area in Plone 4 (including diazo Brio theme for Plone 4.1) - see in Brio Plone 4 Theme Top portlets in Plone 4 tutorial.
Top yellow and brown static areas are reserved for custom content. Portlets' content can be different for different folders.

These portlets display information from 2 pages with ids top-yellow and top-brown respectively, where:
- Page title
- Page body text
- Page description (if available)
- Custom image
Any text or link can be placed into these portlets. For example, you could place links to the featured projects or clients testimonials. Do not place too much information here - it will be cut in case it does not fit the intended space.
So, to fill front page portlet with your content find top-yellow and top-brown pages, located in the site root:
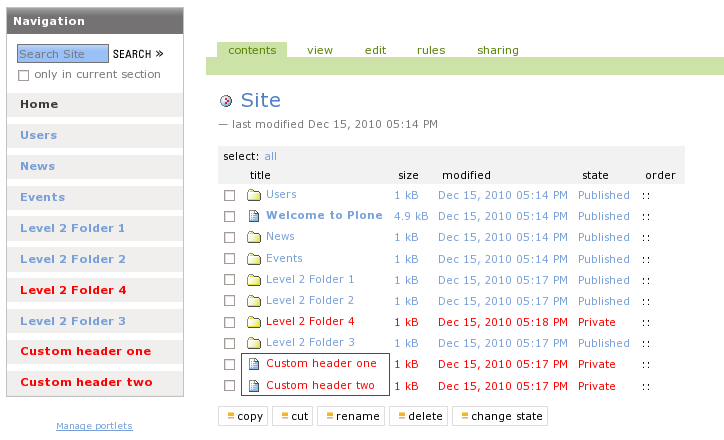
Replace their Title, Description and Body Text with information you need. Save the changes and enjoy your front page portlet new look.
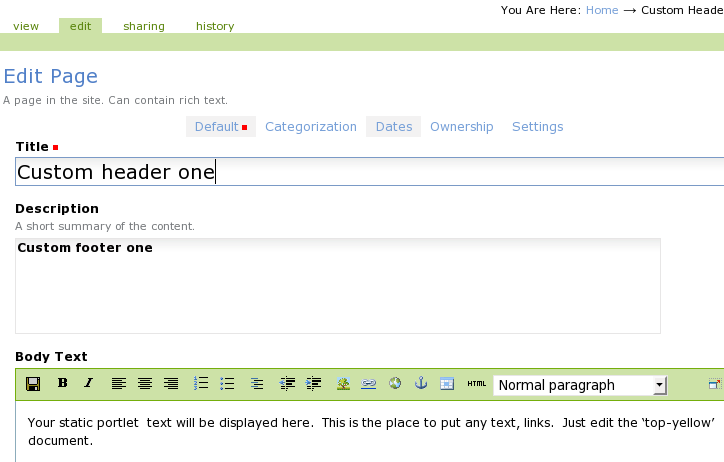
To change the random image on these portlets - follow part 3 of this tutorial.
How to make portlets content different for different folders
Top portlets content can be different for different folders. To have different content on the portlets for different folder - create a page in this folder with top-yellow or top-brown shortname respectively. Fill that page with the information you need. Portlets in this folder will take information form top-yellow and top-brown pages within the present folder.
Let's create a Test Folder folder and set custom brown portlet content. For that we have to create a page top-brown in this folder, and fill it with necessary information:
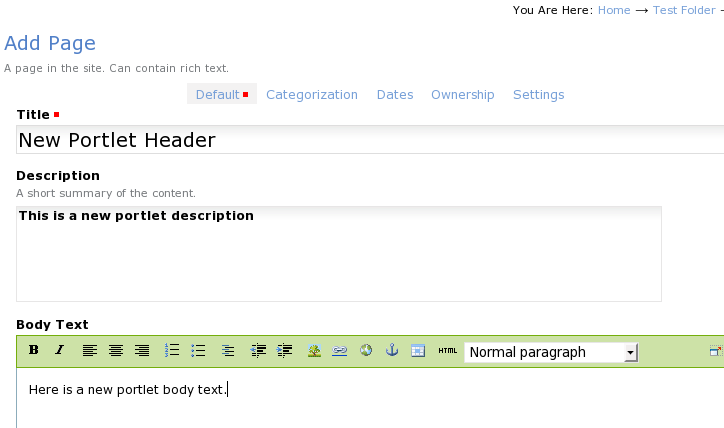
Save this page. Make sure its shortname is top-brown. If not, select rename from actions green drop-down menu:

and provide a new item's shortname - top-brown:
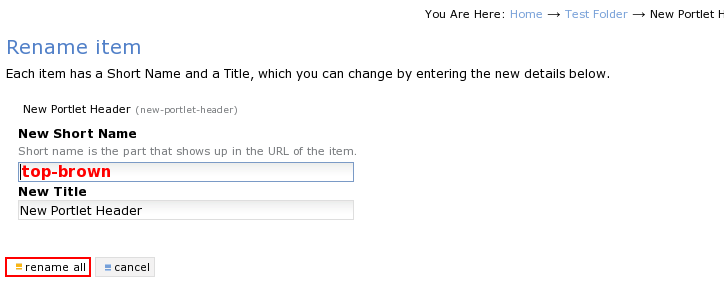
Press rename all button. Now when you look at the brown portlet you'll see it has changed.
