The following tutorial covers changing of BrenA Theme top image on a Plone 4.0 website. Instruction for other theme versions in Replace BrendA diazo Theme top image in Plone 4.1 and Replace BrendA Theme top image in Plone 3 tutorials.
BrendA Plone Theme allows setting different sets of images for the site front page and inner site sections.
Front Page Images
BrendA theme includes 5 images, that are provided for the front page. They are displayed in a random order. Here they are:


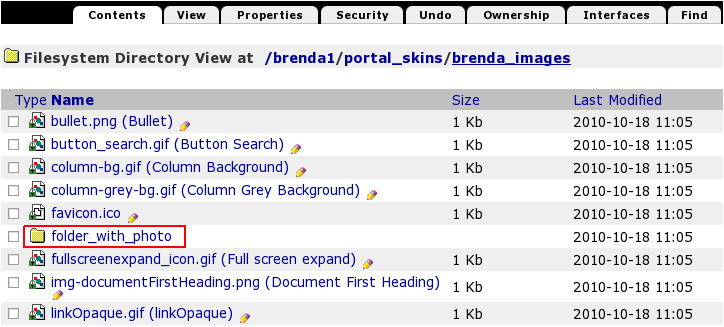
All these images are located in brenda_images/folder_with_photo directory.

Default images size is 600*271 px.

To change images that are displayed on the front page create folder_with_photo folder in portal_skins/custom folder (in ZMI): select Folder form Add drop-down menu, give it id: folder_with_photo.

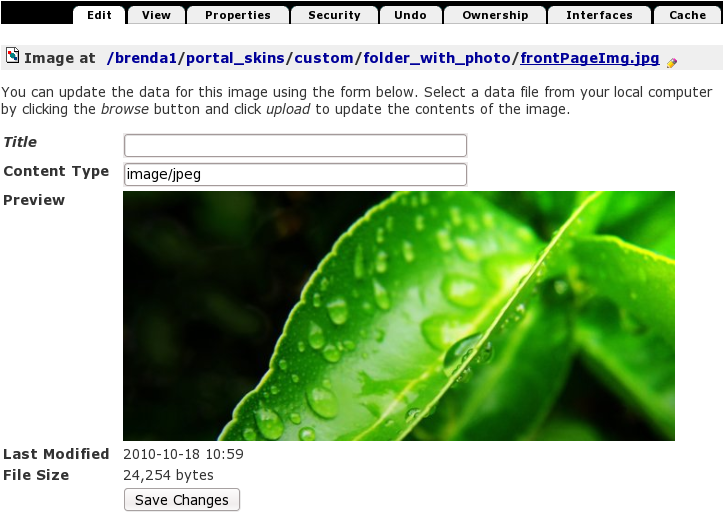
Open this folder and add image inside: select Image form Add drop-down menu:

Upload a new image give id to your image: frontPageImg.jpg. Remember that default front page image size is 600*271 px, so upload new with the same size, otherwise your image might be cropped.

Return to Plone interface to see your new image displayed on the front page.

You may add more images into portal_skins/custom/folder_with_photo(other images ids should be frontPageImg1.jpg, frontPageImg2.jpg, etc.) to have them be displayed on the front page in a random order.
Site Sections Images
Every site section can have unique look with BrendA Theme installed. All new folders created on your site will get the following default top image:

To change default top image for a certain folder, add an image with subFolderImg.jpg shortname into it, and this image will be displayed instead of the default one.

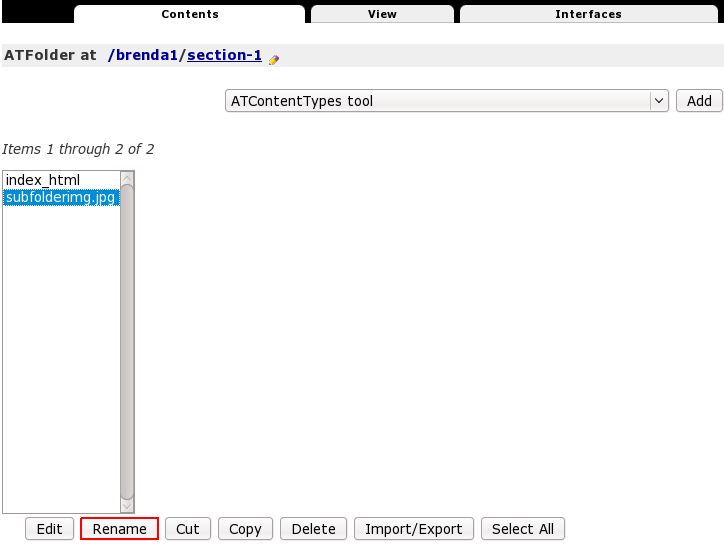
Make sure your added image shortname is subFolderImg.jpg. In case you can not give it such id, and you get error like 'subFolderImg.jpg is reserved' try to do it via ZMI: add /manage to site section URL you are in. Select the image, press Rename:

and set the necessary image id - subFolderImg.jpg.

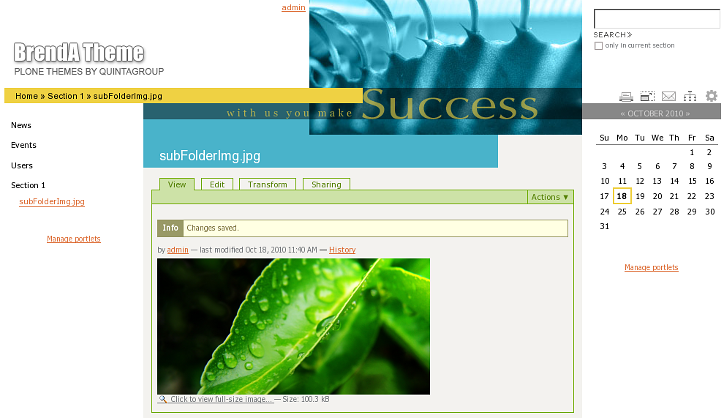
Now this image will be displayed on all pages within this site section:

Default subsection image size is 373*186 px -this is a size of the area reserved for top images on site subsections. In case your new image is larger - it will be copped. In case it is smaller - grey background will be displayed, like this:

BrendA theme comes with additional images that might be used on the site's top area for site subsections. They are in the src folder of the quintagroup.theme.brenda package (quintagroup -> theme -> brenda -> src). You can add those images to site subsections as explained above. When adding these images to the site - make sure their ids will be subFolderImg.jpg.
The following are examples of site subsections with additional images uploaded:


