The following tutorial covers changing of BrendA Theme logo on a Plone 3 website. Instruction for changing it in latest Plone versions see in How to replace BrendA diazo Theme logo in Plone 4.1 and How to replace BrendA Theme logo in Plone 4.0 tutorials.
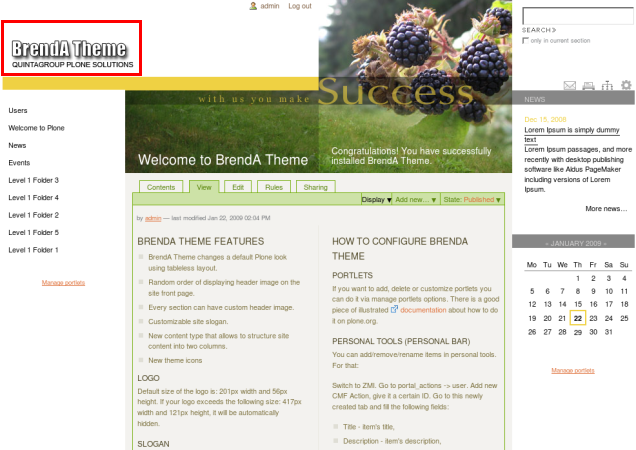
BrendA Plone Theme company logo is displayed at the top left area:

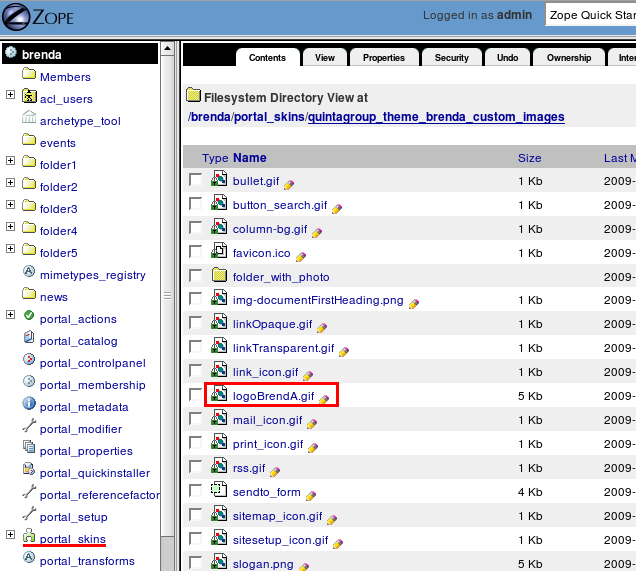
You can replace this BrendA Skin logo with yours via ZMI. Default size of the logo is: 201px width and 56px height. If your new logo exceeds the following size: 417px width and 121px height, it will be automatically hidden. Go to ZMI interface and select portal_skins. In the right column select quintagroup_theme_brenda_custom_images folder, which contains logoBrendA.gif image:

This is a default BrendA Plone Skin logo image. To set your own logo press Customize button:

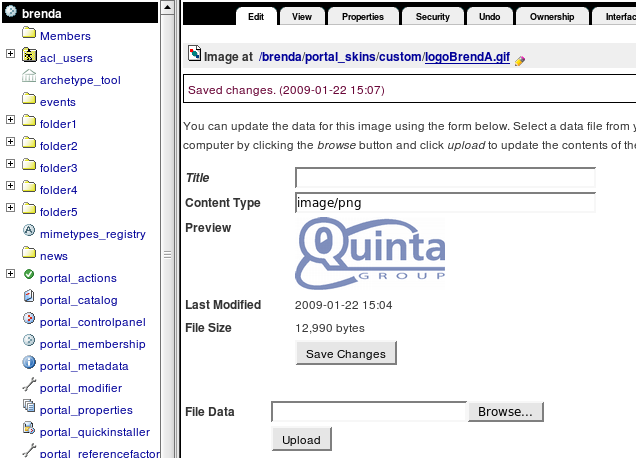
Press Browse button to select the your own logo from your local machine. Click Upload:

Now you see your new logoBrendA.gif image, and it is automatically put into custom folder:

Now when you return to Plone interface, you'll see new logo image (Quintagroup logo).

For the subsequent logo replacements go directly to ZMI portal_skins/custom/logoBrendA.gif and upload new logo image there.
